
Baked zucchini chips might just become your new go-to snack when you’re craving crunch without the guilt. I love how slicing zucchini thin and baking it transforms its watery texture into something crispy and addictive. It’s a surprising twist on a vegetable I usually just toss into salads or stir-fries, but baked into chips, zucchini gets a whole new personality.
There’s something satisfying about biting into these delicate, crispy slices—almost like a vegetable-based potato chip but with a fresher, greener flavor. Plus, they bake up quickly, no oil splatters, and you can season them however you like. It’s a simple process, but the result feels like a little culinary magic—crispy, light, and utterly snackable.
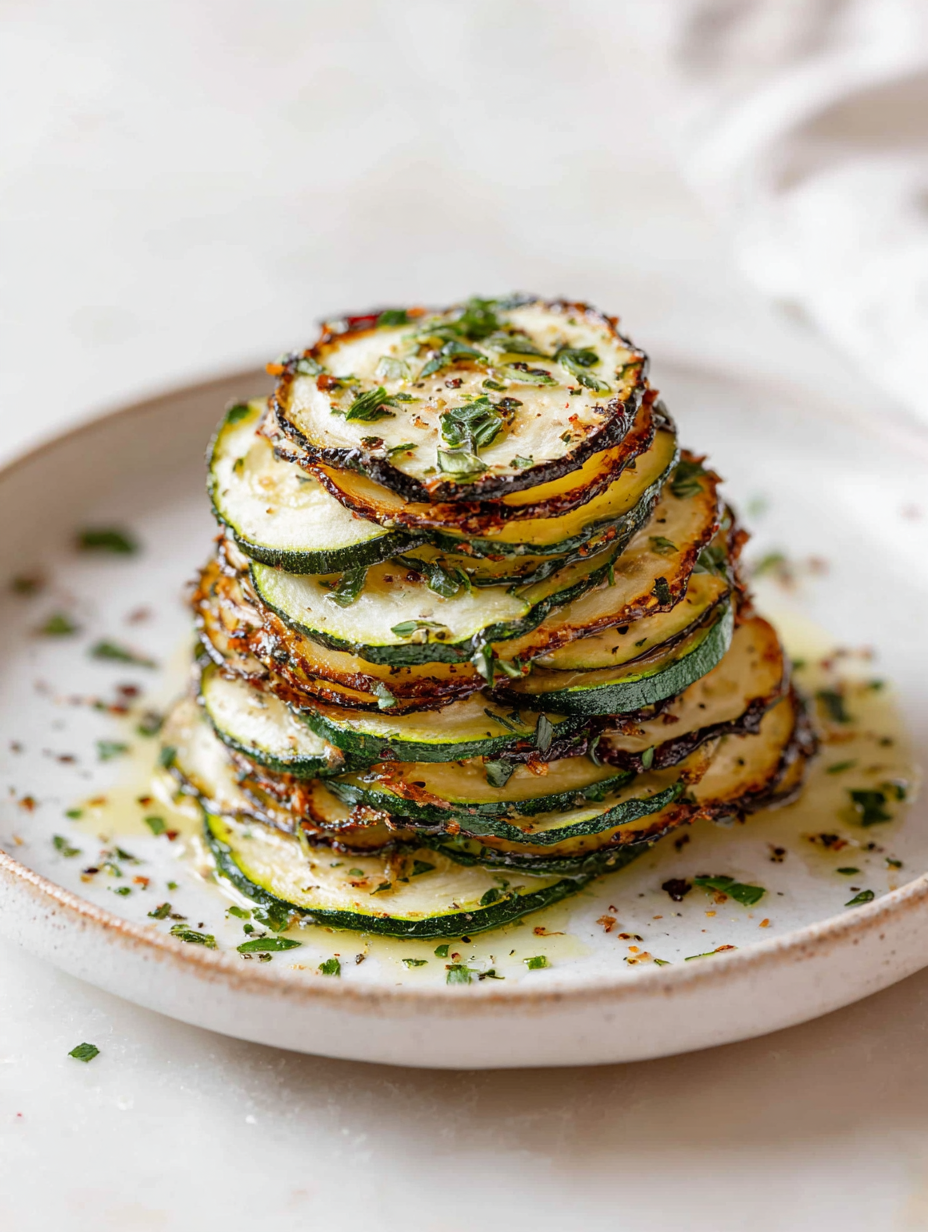
Focusing on the unexpected crunch factor—how baking zucchini transforms its watery texture into a crispy snack, making it a satisfying alternative to potato chips without deep frying.
The story behind this recipe
- This recipe started as a way to use up an overgrown zucchini in my garden. I wanted something crispy and satisfying, but without frying or deep baking. One afternoon, I sliced a zucchini thin, sprinkled it with salt and spices, and baked them until golden. The result was unexpectedly addictive, crispy, and fresh-tasting—like a vegetable chip that actually feels healthy.
- Watching someone else enjoy these chips—crunching happily, eyes bright—made me realize how simple ingredients can turn into something surprisingly delightful. It’s a reminder that you don’t need complicated techniques or exotic ingredients to make a snack feel special.
- heading: The story behind this recipe
Key ingredients and tips
- Zucchini: I love how a fresh zucchini feels firm and almost bouncy—grab a glossy, dark green one for the best slices. Thinly slicing it helps it crisp up nicely, so don’t skimp on the patience here.
- Olive oil: A light brush of good extra virgin gives these chips a subtle shimmer and helps them crisp. Skip it if you want a lower-fat version, but the texture will be a little less golden and flaky.
- Salt: I always start with a pinch, then adjust. It amplifies that green freshness, but too much can overpower, so sprinkle sparingly at first.
- Spices: Paprika, garlic powder, or chili—whatever sparks your interest. I like how a smoky paprika gives a warm depth, but go light—these are delicate bites.
- Breadcrumbs (optional): A sprinkle can add extra crunch and structure, especially if your zucchini is a bit watery. Just a few crumbles for that satisfying bite.
- Lemon zest: Brightens everything up with a zingy aroma that wakes up the palate. Use it fresh for the best punch, especially just before serving.
- Parmesan (optional): Adds a salty, umami depth. I sprinkle it on right before baking so it melts slightly, creating a golden, cheesy crust—just watch it doesn’t burn!
Spotlight on key ingredients
Zucchini:
- I love how a fresh zucchini feels firm and almost bouncy—grab a glossy, dark green one for the best slices. Thinly slicing it helps it crisp up nicely, so don’t skimp on the patience here.
- Olive oil: A light brush of good extra virgin gives these chips a subtle shimmer and helps them crisp. Skip it if you want a lower-fat version, but the texture will be a little less golden and flaky.
- Salt: I always start with a pinch, then adjust. It amplifies that green freshness, but too much can overpower, so sprinkle sparingly at first.
Spices & optional toppings:
- Parmesan: Adds a salty, umami depth. I sprinkle it on right before baking so it melts slightly, creating a golden, cheesy crust—just watch it doesn’t burn!
- Spices: Paprika, garlic powder, or chili—whatever sparks your interest. I like how a smoky paprika gives a warm depth, but go light—these are delicate bites.
- Breadcrumbs (optional): A sprinkle can add extra crunch and structure, especially if your zucchini is a bit watery. Just a few crumbles for that satisfying bite.
Notes for ingredient swaps
- Dairy-Free: Skip the Parmesan—use nutritional yeast for a cheesy, umami boost without dairy, though it won’t melt quite the same.
- Oil Variations: Use avocado or coconut oil instead of olive oil—each adds a different aroma and slightly alters the crispiness.
- Salt Alternatives: Sea salt, Himalayan pink salt, or seasoned salts—each brings a unique mineral note or extra flavor punch.
- Spice Swaps: Smoked paprika for smoky depth, chili powder for heat—adjust based on your spice preference and flavor profile.
- Breadcrumbs: Use crushed pork rinds or gluten-free panko—these options add crunch but change the texture slightly or flavor.
- Lemon Zest: Lime or orange zest—offers a different citrus aroma and brightness that pairs well with the zucchini.
- Herbs & Extras: Fresh thyme or basil—add just before baking for a fragrant, herbal touch that elevates the snack.
Equipment & Tools
- Mandoline or sharp knife: To slice zucchini uniformly thin for even baking.
- Baking sheet: To hold the slices during baking.
- Parchment paper or silicone mat: To prevent sticking and easy cleanup.
- Pastry brush: To lightly coat slices with oil mixture.
- Cooling rack (optional): To cool chips evenly and maintain crispness.
Step-by-step guide to baking zucchini chips
- Preheat your oven to 200°C (390°F). Line a baking sheet with parchment paper or a silicone mat for easy cleanup.
- Wash the zucchini, then slice it thin—about 2mm or 1/8 inch—using a sharp knife or mandoline for uniformity.
- In a small bowl, mix 1 tablespoon olive oil with a pinch of salt, pepper, and optional spices like paprika or garlic powder.
- Lightly brush both sides of each zucchini slice with the oil mixture. Don’t overdo it; just a thin coat is enough.
- Arrange the slices in a single layer on the prepared baking sheet, leaving space between each for even crisping.
- Bake for 20-25 minutes, flipping halfway through, until edges are golden and crispy. Keep an eye after 15 minutes to prevent burning.
- When they start to turn a deep golden and smell smoky, test a chip for crunch—if it crackles when you bend it, it’s ready.
- Remove from oven and let rest for 2-3 minutes. They’ll crisp up more as they cool. Serve immediately or store for later.
Let the chips rest for a few minutes post-baking to firm up. Serve warm or at room temperature, seasoned lightly with sea salt for extra flavor.
How to Know It’s Done
- Edges are golden and crisp, not pale or soggy.
- When cooled slightly, chips should crackle when bent, indicating crispness.
- A faint smell of roasted zucchini and spices should fill the kitchen, not burnt or smoky.
Baked Zucchini Chips
Ingredients
Equipment
Method
- Preheat your oven to 200°C (390°F) and line a baking sheet with parchment paper or a silicone mat.
- Wash the zucchini thoroughly and slice it into thin rounds, about 2mm thick, using a mandoline or a sharp knife for uniform slices.
- In a small bowl, mix the olive oil with a pinch of salt, paprika, and garlic powder if using, creating a flavorful oil mixture.
- Using a pastry brush, lightly coat both sides of each zucchini slice with the oil mixture, ensuring an even, thin layer for crispiness.
- Arrange the coated zucchini slices in a single layer on the prepared baking sheet, leaving space between each to allow for even crisping.
- Sprinkle the slices with a little extra salt and, if desired, a sprinkle of parmesan for added flavor and crunch.
- Bake in the oven for 20-25 minutes, flipping the slices halfway through, until they are golden brown and crispy around the edges.
- Keep a close eye after 15 minutes to prevent burning—edges should be crispy and aroma roasted zucchini with spices.
- Once crispy and golden, remove the chips from the oven and let them cool for a few minutes on a cooling rack or the baking sheet itself.
- Enjoy the chips immediately for maximum crunch or store in an airtight container for later snacking.
Notes
Pro tips for crispy zucchini chips
- Use a mandoline for ultra-thin, even slices that crisp perfectly.
- Lightly spray or brush zucchini with oil—less is more for crunch.
- Flip slices halfway through baking to ensure even crispness.
- Keep an eye after 15 minutes—edges burn easily, pull out when golden.
- Let chips rest a few minutes after baking—crispier as they cool.
- Use a cooling rack if possible—air circulation helps maintain crunch.
- Season immediately after baking—light sprinkle of sea salt enhances flavor.
Common mistakes and how to fix them
- FORGOT to dry zucchini slices thoroughly, resulting in soggy chips—pat dry for crispness.
- DUMPED too much oil, which caused greasy chips—use just a light brush or spray.
- OVER-TORCHED chips turned bitter—remove early if edges darken too quickly.
- UNDER-baked slices remained floppy—bake longer or at slightly higher temp for crunch.
Quick fixes and pantry swaps
- When chips are soggy, splash with a quick spray of oil and bake 3 minutes more for crunch.
- If chips stick together, patch with a gentle tap and separate before baking again.
- Over-torched edges? Shield with foil and lower oven temp—rescue with a few extra minutes at 180°C.
- Dumped too much oil? Wipe excess with a paper towel before the next batch for less greasiness.
- When flavor is dull, sprinkle with a pinch of flaky sea salt or a squeeze of lemon—instant brightness.
Prep, store, and reheat tips
- Pre-slice zucchini and store in an airtight container in the fridge for up to 24 hours; the slices stay firm and ready to bake, with a fresh, slightly dewy surface that crisps perfectly when baked.
- Bake the chips ahead of time and keep in an airtight container at room temperature for up to 2 hours; they will lose some crispness but can be refreshed in a hot oven for a few minutes.
- Store baked chips in a sealed container for 1-2 days; reheat in a 180°C (350°F) oven for 3-5 minutes until crisp and aromatic—listen for that satisfying crackle.
- For longer storage, freeze baked chips in a zip-top bag for up to a month; reheat directly from frozen for 5-7 minutes, their aroma of roasted zucchini will re-emerge, and crunch will be restored.
Top questions about baked zucchini chips
1. How thin should I slice the zucchini?
Slice zucchini thinly—around 2mm—using a sharp knife or mandoline for even crispness.
2. What temperature and time are best for baking?
Bake at 200°C (390°F) for about 20-25 minutes, flipping halfway, until edges are golden and crispy.
3. Should I oil and season before baking?
Use a light brush of olive oil and season with salt and spices before baking for flavor and crunch.
4. Can I eat them right after baking?
Yes, let the chips rest for a few minutes after baking to crisp up fully and avoid sogginess.
5. How do I store and reheat leftovers?
Store in an airtight container for 1-2 days; reheat in a 180°C (350°F) oven for 3-5 minutes to regain crunch.
6. What if my chips turn out soft instead of crispy?
If chips are soggy, lightly spray with oil and bake for a few more minutes until crisp again.
7. How important is uniform slicing?
Use a mandoline for uniform slices, which helps them bake evenly and get crispy all over.
8. Can I substitute different oils?
You can swap olive oil for avocado or coconut oil, but it may slightly change the flavor and crisp.
9. Are there good substitutions for cheese and breadcrumbs?
Skip cheese or breadcrumbs for a lighter, dairy-free version that still crisps nicely.
10. How do I pick the best zucchini?
Look for zucchini that feels firm and glossy; avoid dull, limp ones for best texture and flavor.
These baked zucchini chips are a reminder that simple ingredients can turn into something unexpectedly delightful. The crispy texture and fresh flavor make them a perfect snack for any moment of the day. Plus, they’re easy enough to whip up when you need a quick, satisfying crunch. Enjoy experimenting with different seasonings and finding your perfect bite. Sometimes, the smallest tweaks make all the difference in a humble snack. Happy snacking!
In the end, it’s the little things—like that perfect golden edge or a tiny pinch of salt—that make these zucchini chips stand out. They’re a go-to for me now, especially when I want something light but crave a bit of crispy comfort. Hopefully, they’ll become yours too, a reliable, veggie-packed treat whenever the craving hits. Keep your oven warm and your slices thin—those are the secrets to crispy success.