
Making your own baked tortilla chips isn’t just about avoiding plastic waste; it’s about reclaiming a snack that feels a little more conscious. I started doing this when I realized how many store-bought bags I was tossing every week—most of which ended up in the trash or recycling bin, never quite satisfying that craving for something crispy and salty.
There’s something satisfying about turning simple corn tortillas into chips that you bake instead of fry. It’s a small act, really, but it feels good to cut down on oil, packaging, and waste. Plus, the smell of toasted tortillas curling up in the oven—almost like a cozy reminder of simpler, more mindful eating—keeps me coming back to this recipe.
Focusing on the eco-friendly aspect of making your own baked tortilla chips, reducing waste and avoiding single-use plastic bags.
The story behind this recipe
- One afternoon, I was rummaging through my pantry, looking for a quick snack, when I found a bunch of slightly stale tortillas. Instead of tossing them, I thought, why not turn these into something crispy and satisfying? That moment sparked the idea to bake my own chips—less oil, less waste, more flavor.
- It’s funny how a simple kitchen accident can lead to a new habit. Baking instead of frying became my go-to way to enjoy crunch without the guilt. Plus, I love how the smell of toasted corn fills the house—reminds me of childhood trips to the fair, but with a little healthier twist.
- heading: ‘The story behind this recipe’
Ingredient breakdown
- Corn tortillas: I use day-old tortillas for extra crispness, but fresh ones work too if you prefer a softer bite. Watch them turn golden—aromatic and inviting—when they bake.
- Olive oil spray: A light mist helps the chips toast evenly; skip heavy pouring to avoid soggy edges. The spray should feel almost invisible, just a shimmer on the surface.
- Sea salt: I prefer flaky sea salt for that burst of crunch and a subtle briny kick. Adjust to your taste—less for delicate, more for bold snackers.
- Optional spices: Paprika, cumin, or chili powder—sprinkle before baking for a smoky, spicy aroma that fills the kitchen. Use sparingly if you want a more subdued flavor.
- Lime juice: A squeeze before baking gives a zesty brightness that lifts the chips into a whole new flavor zone. It’s the little zing that keeps your taste buds alert.
- Sugar (if adding a touch for balance): Just a pinch to contrast the salt—be careful not to overdo it or it’ll turn sweet instead of savory. Adds a whisper of caramel undertone.
- Cooking sheet: I line mine with parchment to prevent sticking and make cleanup a breeze. The edges of the chips will crisp up beautifully without sticking to the pan.
Spotlight on key ingredients
Corn tortillas:
- I prefer slightly stale ones for extra crunch, but fresh tortillas still crisp up nicely. Look for a golden hue when they bake, with a toasty aroma.
- Sea salt: I love flaky sea salt for its crunch and burst of briny flavor. Adjust amount to your taste—more for boldness, less for delicacy.
Olive oil spray and spices:
- Olive oil spray: Just a light mist is enough to help the chips toast evenly. It should feel almost invisible, giving just a shimmer without sogginess.
- Optional spices: Paprika, cumin, or chili powder—sprinkle before baking. They fill the kitchen with smoky, spicy aromas that make you want to grab a chip.
Notes for ingredient swaps
- Dairy-Free: Use nutritional yeast or a sprinkle of smoked paprika instead of cheese or dairy-based seasonings. It adds a savory, umami punch without the dairy.
- Gluten-Free: Replace wheat-based spices with certified gluten-free versions. Most spices are naturally gluten-free, but always check labels for added anti-caking agents.
- Oil Alternatives: Swap olive oil spray for coconut oil spray or a light brushing with avocado oil. Keeps the chips crisp and adds a subtle richness.
- Salt Options: Use Himalayan pink salt or sea salt flakes for a different mineral complexity. Adjust quantity to avoid overpowering the delicate corn flavor.
- Spice Variations: Instead of paprika or chili powder, try cumin or coriander for a different smoky or citrusy note. Fresh herbs like oregano can also brighten the flavor.
- Lime Juice: Substitute with lemon juice for a slightly different citrus burst. Both add brightness but lemon offers a sharper tang.
- Tortillas: Use whole wheat or blue corn tortillas if you want a different flavor profile. Keep in mind, cooking times might vary slightly.
Equipment & Tools
- Baking sheet: To hold the tortilla wedges during baking, ensuring even heat distribution.
- Parchment paper: Prevents sticking and makes cleanup easier.
- Sharp knife or pizza cutter: To cut tortillas into wedges evenly.
- Spray bottle or pastry brush: To lightly coat chips with oil for even crisping.
- Wire rack: To cool the chips and help them crisp up completely.
Step-by-step guide to baked tortilla chips
- Preheat your oven to 180°C (350°F). Line a large baking sheet with parchment paper for easy cleanup.
- Slice tortillas into 6-8 wedges each, aiming for uniform size so they bake evenly. Set aside.
- Place tortilla wedges in a mixing bowl. Lightly spray with olive oil using a spray bottle or brush, just enough to give a shimmer—avoid drenching to keep edges crisp.
- Sprinkle with sea salt and any optional spices—paprika, cumin, chili powder—toss gently to coat evenly. Adjust seasonings to taste.
- Arrange the wedges in a single layer on the prepared baking sheet, spacing them out so they don’t touch. This ensures even baking and crispiness.
- Bake for 12-15 minutes, turning once halfway through. Keep an eye on them after 10 minutes to prevent over-browning. The chips should be golden and slightly puffed at the edges.
- Check for doneness: they should be crisp, lightly browned, and fragrant with toasted corn. If edges are still soft, bake a few minutes longer.
- Remove from oven and let rest on the baking sheet for 3-5 minutes. They will continue to crisp as they cool. Transfer to a wire rack if needed for extra air circulation.
- Serve immediately or store in an airtight container once cooled completely. Reheat in a 180°C (350°F) oven for 3-5 minutes for renewed crunch.
Let the chips rest on a wire rack for 3-5 minutes to ensure maximum crispness. Serve warm or at room temperature, preferably fresh from the oven.
How to Know It’s Done
- Chips are golden, crisp, and fragrant with toasted corn aroma.
- Edges should be slightly puffed but not burnt, with no soggy spots.
- When cooled, chips should snap easily when broken, indicating proper crispness.
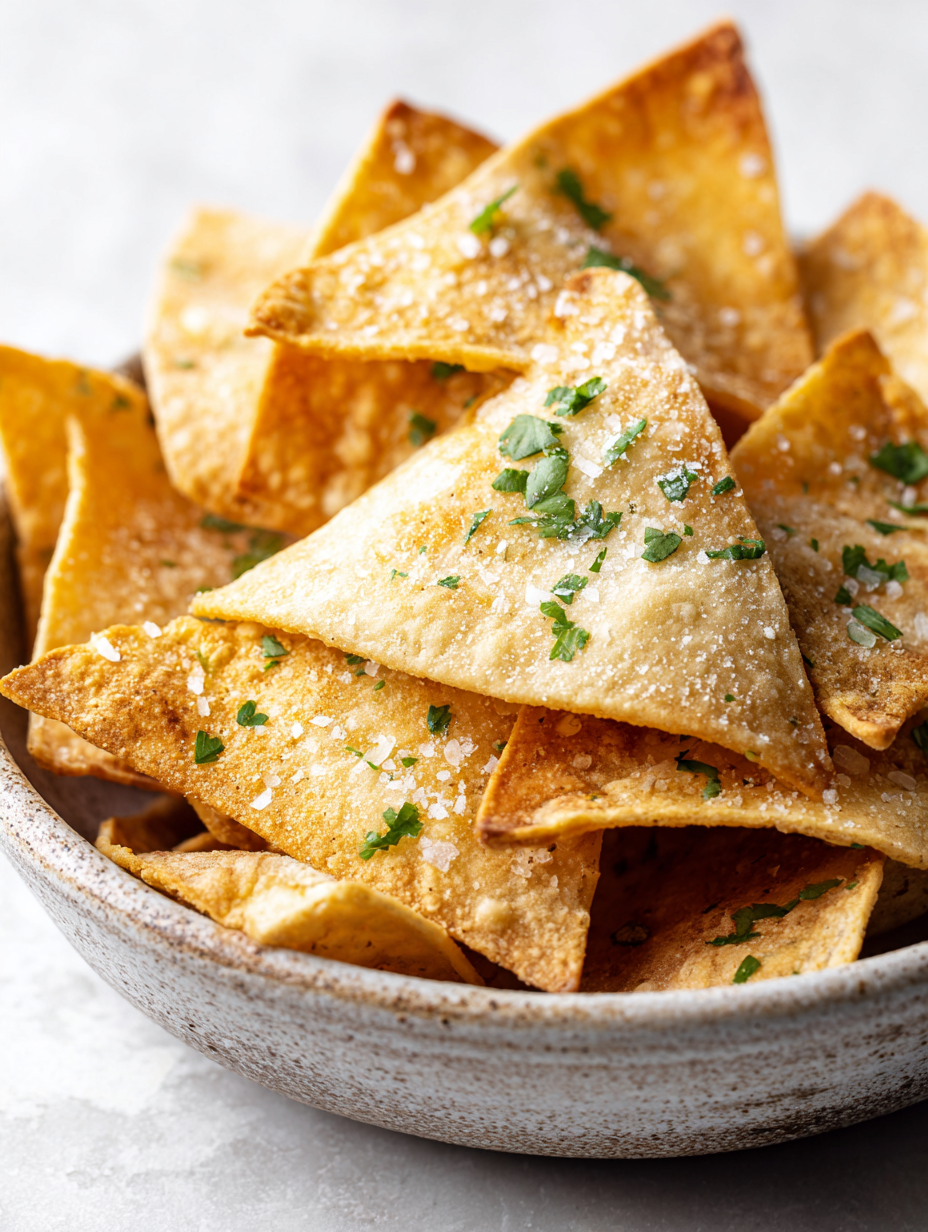
Baked Tortilla Chips
Ingredients
Equipment
Method
- Preheat your oven to 180°C (350°F). Line a baking sheet with parchment paper for easy cleanup.
- Stack the tortillas and cut them into 6-8 evenly sized wedges using a sharp knife or pizza cutter—aim for uniform pieces for even baking.
- Transfer the tortilla wedges to a mixing bowl. Lightly spray or brush them with olive oil to give a gentle shimmer—just enough to help them toast evenly without becoming soggy.
- Sprinkle the wedges with sea salt and, if you like, a pinch of paprika, cumin, or chili powder for added smoky or spicy flavor. Toss gently to coat all pieces evenly.
- Arrange the wedges in a single layer on the prepared baking sheet, spreading them out so they don’t overlap. This helps them crisp up properly.
- Bake for about 12-15 minutes, turning the chips once halfway through, until they are golden and fragrant with toasted corn aroma. Keep an eye on them after 10 minutes to prevent over-browning.
- Once baked, remove the chips from the oven and squeeze fresh lime juice over them for a zesty, bright flavor. Let them cool on a wire rack for 3-5 minutes to crisp up further.
- Serve immediately for the crunchiest texture, or store in an airtight container once completely cooled. Reheat in a warm oven for a few minutes if you want to enjoy them later with that fresh-from-the-oven crispness.
Notes
Pro tips for perfect baked chips
- Even slices ensure uniform crispness—use a sharp knife or pizza cutter for clean edges.
- Light spray of oil is key—avoid drenching to keep chips crispy and not soggy.
- Rotate the baking sheet halfway—this promotes even browning and prevents overdone edges.
- Keep an eye after 10 minutes—chips go from perfect to burnt quickly, so stay nearby.
- Cool on a wire rack—this allows air to circulate and keeps chips crisp until serving.
- For extra flavor, sprinkle spices before baking—aromatic spices toast in the oven for richer taste.
Common mistakes and how to fix them
- FORGOT to check for burning edges → Rotate pan or reduce oven temperature.
- DUMPED too much oil → Use a light spray or brush for even coating.
- OVER-TORCHED chips → Remove early; chips continue crisping as they cool.
- MISSED the even spacing → Arrange wedges with space for air circulation, crisp more evenly.
Quick fixes and pantry swaps
- When chips are soggy, splash with a bit more oil and bake 2 minutes longer.
- If chips stick to the pan, patch with parchment paper and switch to a non-stick baking sheet.
- Over-torched edges? Shield with foil and reduce oven temperature for the next batch.
- Forgot to space chips? DUMP some and rearrange for even crisping on return to oven.
- When aroma is flat, rescue with a sprinkle of fresh herbs or a squeeze of lime to revive flavor.
Prep, store, and reheat tips
- Prepping the tortilla wedges ahead of time ensures even baking; cut them into wedges and store in an airtight container for up to 24 hours, keeping them slightly separated to prevent sogginess.
- Store cooled chips in an airtight container at room temperature for up to 3 days; they will stay crispy but may lose some freshness after the first day.
- Reheat in a 180°C (350°F) oven for 3-5 minutes, watching for that initial crackle and warm aroma. Chips revive their crunch nicely, but avoid overbaking to prevent burning.
- If storing for longer than a day, keep chips in a sealed container in the fridge for up to a week, but expect some moisture and softer texture—recrisp in the oven.
- For best flavor retention, avoid storing chips with any moist or oily leftovers; crispness diminishes quickly if they absorb moisture or humidity.
Top questions about baked tortilla chips
1. Can I use fresh tortillas?
Use tortillas that are a day old or slightly stale for better crisping, but fresh ones work if you prefer a softer bite. Watch them turn golden and smell toasty when baked.
2. How much oil should I use?
A light spray of olive oil helps chips crisp evenly; avoid pouring too much oil, which can make them soggy instead of crispy.
3. How do I know when they’re done?
Bake at 180°C (350°F) for about 12-15 minutes, flipping halfway. Look for golden color and a fragrant, toasted corn aroma as signs they’re ready.
4. Can I make these gluten-free or vegan?
Replace olive oil with coconut or avocado oil for a different flavor profile. Use gluten-free tortillas if needed, but check spice seasonings for gluten content.
5. How should I store leftovers?
Store cooled chips in an airtight container at room temperature for up to 3 days. Reheat in the oven at 180°C (350°F) for a few minutes to regain crispness.
6. My chips are soggy. What can I do?
If chips are soggy, sprinkle a little more oil and bake for 2 extra minutes until crackling and fragrant. For uneven baking, rotate the pan during cooking.
7. How do I cut the tortillas evenly?
Use a sharp knife or pizza cutter to cut tortillas into uniform wedges to ensure even baking and crispness across all chips.
8. Can I add spices before baking?
For more flavor, sprinkle spices like paprika or cumin before baking. They toast in the oven, filling your kitchen with smoky or citrusy aromas.
9. What if my chips burn?
Over-torched edges can be salvaged by shielding with foil and lowering the oven temperature. Remove chips immediately if they start to burn, and adjust baking time next round.
10. Should I let the chips cool before eating?
Always cool the chips on a wire rack to prevent sogginess and keep them crispy longer. Serve warm or at room temperature for the best crunch.
Making these baked tortilla chips is a small way to feel a bit better about snacking. They’re simple, satisfying, and a reminder that homemade can be both eco-friendly and delicious.
Whenever I bake a batch, I think about how a little effort turns stale tortillas into something crispy and fresh. It’s a quiet act of reclaiming and rethinking what snacks can be, especially now.